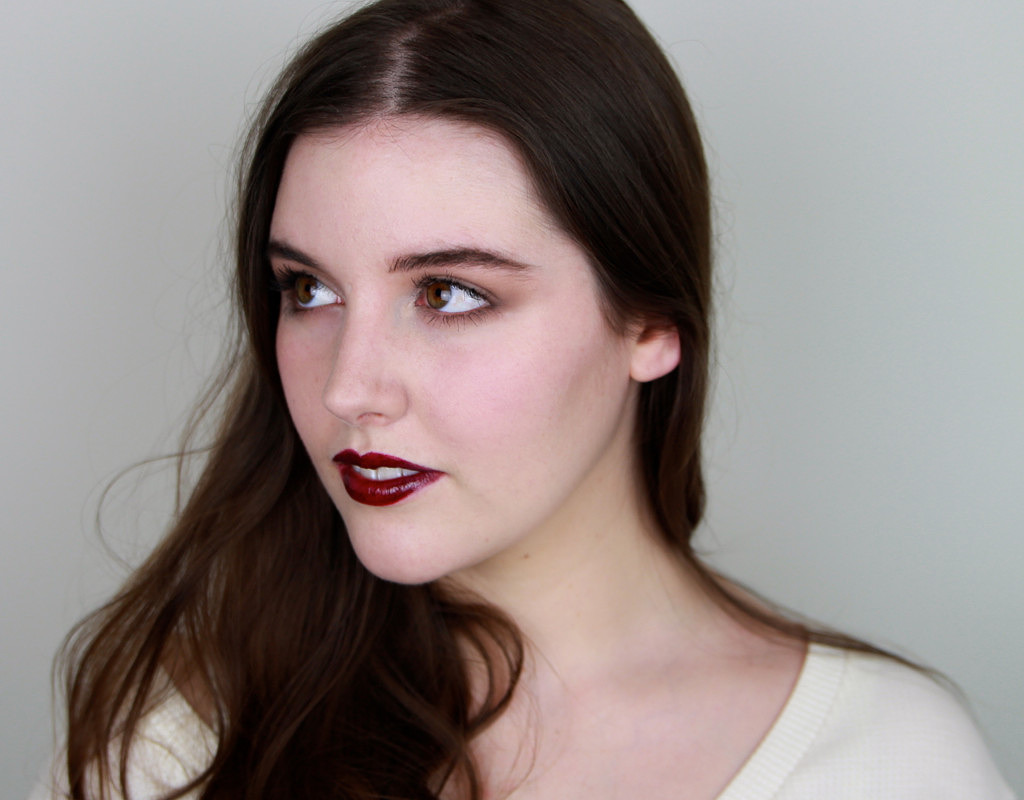
Long time no tutorial! This is a super glossy, vinyl-finish vampy lip on my good friend Taylor. Get excited for fall, Americans!
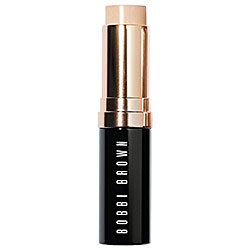
I'm back. Today, I have the absolutely gorgeous Taylor. For this look, I wanted to play with vampy lips and textures, so I opted for a high shine, vinyl finish vamp. To begin, I applied a light layer foundation. Taylor has the most amazing porcelain skin. I am beyond jealous. So to achieve her perfect shade, I used a white foundation mixer. I then went on to do some spot concealing here and there using a stick foundation and my fingers. With the dabbing and rolling motion, I took some extra time to even out the skin as vampy limps have the tendency to highlight any imperfections in skin tone. I created a rather full brows with a combination of three products: a product powder to fill in spots areas and matte powder basic shade; a brow pen to lengthen the tail and provide some variation, this just keeps the brow from looking too blocky or severe; finally, a tinted brow gel to set it all in to place.
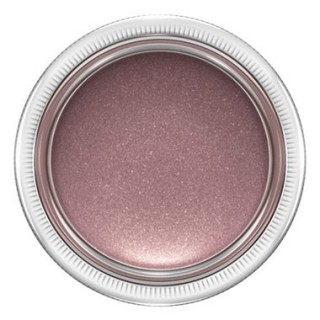
The lids were primed with good old MAC Painterly Paint Pot to give the eyeshadow something to cling to. I also run a little bit of that on the lower lash line to cancel out any redness. A Tony chestnut eyeshadow was patted all over the lid to create a soft haze around Taylor's eyes. On medium skin tones, this shadow is a fabulous transition shade. But on Taylor's skin, it's the ultimate shadow for a two-minute smokey eye. The same shadow was blended right up to the brow bone to achieve a very soft blown out effect. I then replicated the process on lower lash line, running the brush back and forth to achieve a graduated haze. As the eyes were entirely matte and looking a little dull, I used a white gold shimmery shadow just around the tear duct to make the eyes appear wide and bright.
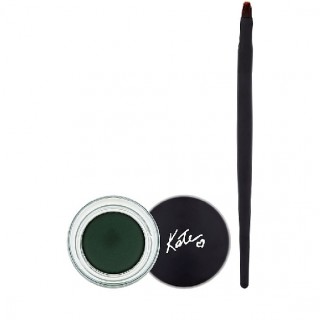
I tightline Taylor's upper water line with a black gel eyeliner to create some more definition around the eyes without overpowering her features or her delicate complexion. Invisible eyeliner so to speak. And this looks scary but don't worry, no Taylor's were harmed in the production of this video. I used a few individual lashes to keep look feminine and pretty. No re-run or reason really, I just plunked them randomly on the lash line to thicken up Taylor's naturally long lashes. A quick slick of mascara was used to bind the false lashes to the natural lashes. This mascara is Taylor's own and that is why I'm using it straight from the wand. Hazy eyes and dark lips can start to look a little bit grungy and feathery lashes keeps it chic and pretty so I also went to town on the low lashes too.
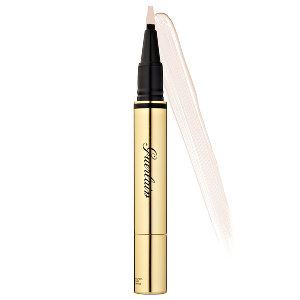
Back to the complexion, I cleaned up any fall out with a bit of Bioderma and illuminated the under eye area with a light reflective concealer, just lightly pressing that into the skin with a finger. As the lips are going to be super glossy, I kept the skin rather velvety and matte by using a translucent powder all over. A bit of pastel pink blush to inject some life and color back in to Taylor's skin. I think that the pink blush played really well with the purple tone vampy lips. I dabbed it on the apples and then blend it up the cheek bone. If you are on the paler side, Katie is definitely something you need on your stash.
I have since discovered that while so glossy stains are impossible to apply with the lip brush but what can you do? If you're at home, definitely use the provided applicator because it is fantastic. I used shade 01 all over the lips as a vampy base. This is sort of deep plumy purple shade and I'm a big fan of the YSL Glossy Stain Formula. It's sort of thickens up to a jelly texture on the lips but it's never sticky. It's very cool. I then applied shade 11, a brighter, pinky red just to the center of the pout. This brightened the look a tad and the variation was really interesting and pretty I think like a subtle ‘ombre effect.
Last minute decision, I decided to add some highlighter, a very subtle highlighter just to the tops of the cheek bones. I love me a bit of a highlighter. I can't help myself. And that is the final look. Give us a thumbs up if you enjoy seeing some different faces. And thank you again, Taylor, for being my model today. You are gorgeous.
Final Look

Nail Polish I’m wearing in this tutorial:
Essie Mint Candy Apple with an accent nail, Deborah Lippmann Boom Boom Pow.
Complete List of Products
Giorgio Armani Lasting Silk 02 mixed with Face Atelier Zero Plus (50/50 ratio)
Bobbi Brown Stick Foundation in Alabaster for spot concealing
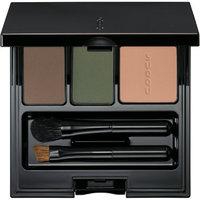
SUQQU Brow Powder – Moss Green
SUQQU Brow Pen – Moss Green
Anastasia Beverly Hills Tinted Brow Gel – Granite
MAC Paint Pot – Painterly
Painterly Rouge Bunny Rouge Matte Eyeshadow – Chestnut-Napped Apalis
Kate Gel Eyeliner- Black
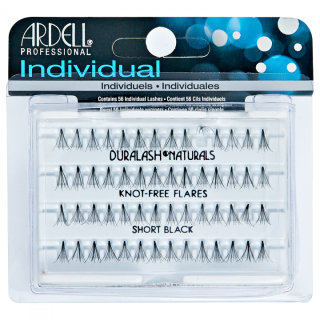
Ardell Individual Lashes – Short and Medium
Chantecaille Faux Cils Mascara
Guerlain Issima Precious Light Smoothing Illuminator – 00 Rose Enlumineur
SUQQU Nuancing Loose Powder – Natural
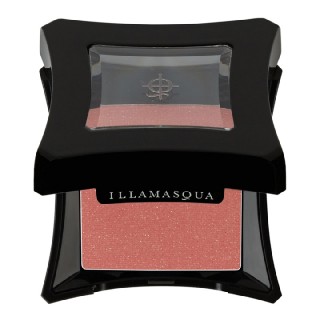
Illamasqua Blush – Katie
Yves Saint Laurent Glossy Lip Stain – 1 and 11
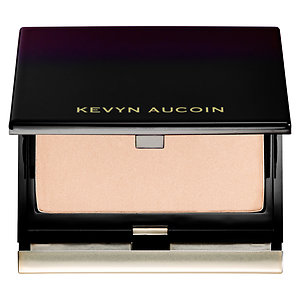
Kevyn Aucoin Celestial Powder – Candlelight
xxkarima


Love this look and how you pulled it together on your friend, so gorgeous! I was missing your tutorials, please more tutorials! Love, love, love them!
I’m so happy you like it 🙂 Uni is getting in the way a bit (ugh) but I have another tutorial lined up. xx
What a lovely look you’ve created, Karima! You’ve made me even more excited for autumn than I already am. I long to wear bold, deep lips with otherwise muted shades.
♥ Jessica
Such a compliment, Jessica! You have impeccable taste 🙂 It’s going into spring here but I like deep lips all year round! x
Great look! This a great way to wear a dark lip.
Thanks, Chris! x
I love this tutorial! I’ve seen many negative reviews on the YSL glossy stains online. I bought mine about a year ago (an orangey one – camel crossière it’s called, I think) without having ever read the reviews and I really love it too. It’s not very sticky and quite moisturising. Anyway, thanks again for the tutorial! Love her eyebrows by the way.
Really?! I love the YSL Glossy Stains, one of my favourite formulas and I can’t really fault it. It’s my pleasure, always 🙂
xx