I have exciting news today! I bring to you my first youtube makeup tutorial!
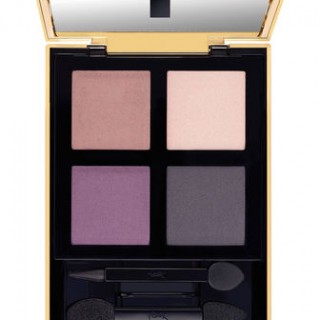
Hello, everyone. For those who don't know me, my name is Karima. I run a beauty blog called Shamelessfripperies.com, and that would be linked in the description box below. And today, I'm really excited to bring to my first YouTube video. It will be a look that's kind of metallic and grunge inspired. I'm using the new Yves Saint Laurent palette that I purchased yesterday and this is the pure chromatics in #6. This is designed to use wet and dry. And I told myself that I wouldn't purchase this palette but I passed it in store and then I stopped and then I swatched it and it basically bought itself and I was defenseless. So I hope you guys enjoy the look and let's get started. Okay, so I've done my brows first and now I'm going to go straight to foundation. And I'm going to use Armani Lasting Silk, which if you know anything about me, it's my favorite foundation ever. It's a holy grail material. And I'm going to use a mixture of 4 and 5.5. I'm going to use a MAC 190 brush, it's a powder brush to apply this. And I'm actually going to dampen it with a bit of Embryolisse Rosewater Toner and that's just to sheer out the foundation because it is a medium coverage foundation. I prefer it to be a bit sheerer so I'm just going to sprits it.
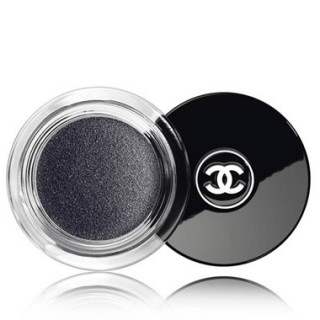
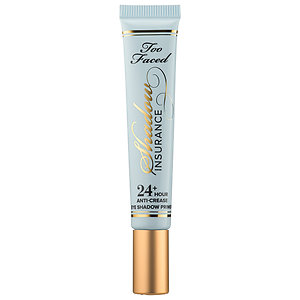
So I've gone and primed my eyes with Too Face Shadow Insurance and we're going to get on to using the eye shadows. I've decided first to use a black base and for that I'm using Chanel Illusion D'Ombre in Mirafique. And it is a black color that looks like this. And I'm going to apply that with a MAC 217 all over the lid and just in to the crease but not too far up. I'm also going to run a bit of a Mirafique underneath my lower lash line just to give it a smirkier look. I'm going to keep going with that eye because I feel like with cream bases, you do have to work relatively quickly. So I'm going to go straight to the eye shadow and here's the quad. It's very pretty. I'm going to take – actually haven't decided what I was going to do until this point. So we're just going to start and hope for the best. I'm actually going to use this wet because it is a wet and dry palette and subtlety is not my strong point. I always go for the strong. So I'm going to take my MAC 239 and I'm going to again wet it with my Embryolisse Rose Toner. I'm going to take the green and I'm going to apply that in to the inner half of my eyelid over the black base.
So now that I've done the inner half the eyelid with green shade, I think what I'll do is I'll take the other side of the same brush and I'm going to take the purple shade. It's a plumy shade quite dark and I'm going to do that on the outer half of the lid. So now that the outer half is done in the purple shade, I'm just going to take the brush and just zigzag it back and forth over the back. Zigzag, very articulate. I'm going to blend the edge. I'm going to mirror what I did on the upper lid on the lower lid so I'm going to take a Make Up Store smudge brush and this is very similar to the NARS smudge brush and I'm going to take the green shade and I'm going to run that along the inner half of the lower lash line. I'm going to take the purple again. Now I've decided to make the look a little bit more interesting, I think what I'll do is I'll take the pink shade and I'll show you that once more. It's a medium pink shade and I'm going to pop that in the center of the upper lid just to catch the light. And I'm going to also do that on the lower lash line exactly in the middle. This will create a false peak so to make the eyes look a little bit more permanent.
I'm not being too neat with this look. I kind of like it when looks are a little bit grungy, a little bit messy. Now I'm going to take the gold shade wet and I'm going to run that along the inner tear duct. And I feel like that makes my eyes look a little bit wider, a little bit more wide set. Okay. So I've used quite a few colors on my lid so I've decided to use a neutral crease color just to blend it in to the brow bone highlight and I've chosen Sober. And I'll show you Sober. This is my half filled MAC palette. It's my neutral palette and this is Sober here. So I'm just going to take Sober on my 217. I've just wiped it off. It's not clean. It doesn't need to be. And I'm just going to dab off the excess and I'm going to apply that through the crease to help blend the darker color so that we get a nice gradient. Okay, before I do anything else. I'm going to put on my brow highlight and for that I'm going to use MAC Vanilla. And mine has been butchered. It's probably my oldest MAC eye shadow but it is the perfect brow highlight for me. And I'm going to place that just under my arch.
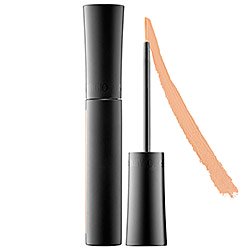
I've gone ahead and done my other eye and I've also cleaned up any fall out that I might have experienced. It was pretty minimal but I've used my Bioderma Sensibio on a q-tip just to clean up any fall out. I'm now going to apply some liquid liner on my top lash line and for that I'm going to use my Physician's Formula Eye Booster. And I use a flat motion. So if I kind of try to go in this way, I find it very hard to see what I'm doing and I'm poking my eye up. So I'd go in flat and I just do dabbing motions around my lash line. Okay, now that I've done the liquid liner on the top lash line, I'm going to tight line my upper ash line with a black coal pencil and this is just so that you don't see any gaps of skin between the lashes. Now for my favorite part of this look and almost every look, false lashes they're my favorite thing and I think they completely transform any look. The pair that I'm using today are the Shu Uemura smokey layers. And this has been used about 10 times, so they're not looking completely fresh but they're still perfect for use. So the first thing I'll do is curl my lashes and apply mascara. And the reason that I do this before applying the lashes is because Shu Uemura lashes cost an arm and a leg in Australia and I'm trying to make them last for as long as I possibly can.
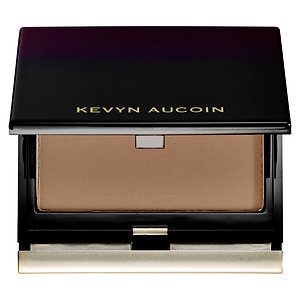
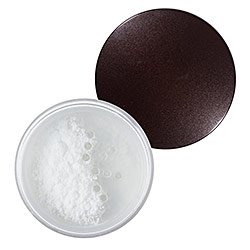
So I'm just going to curl my lashes then I'm going to apply these with a Shu Uemura eyelash applicator. And you can easily use tweezers for this job. I just happen to own this and I think it's nice. I don't think it's a necessity. And I'm just going to lower the lashes on to the lash line. And it doesn't matter if you get it right the very first go. Now that my eyelashes are applied and my eye make up is complete, I'm ready to move on to my under eye concealer. And today I'm using the Armani Precision Retouch and this is in shade 3 in to the inner corner and extending a little bit upwards as I find that I get a little bit of shadow there and I'm just going to use my fourth finger and blend this. To set my concealer and also to help migration of my eye make up, I'm going to apply my Laure Mercier Secret Brightening Powder. And I think I've been on this pot for something like three years. I'm not the biggest fan of blush so instead of using blush shades on my cheeks, I'm going to do a little bit of a contour. And for this I'm going to use the Kevyn Aucoin Sculpting Powder in medium. So I'll just put a little bit on the short end and you swipe down.
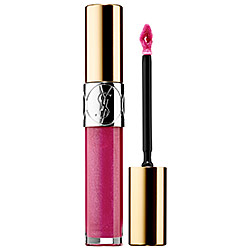
The final step to this look and keeping with the YSL thing is a YSL lip gloss and this is in Gloss Volupte, Volupte. I am likely butchering that pronunciation. And this smells amazing. I'm not sure if it's candy or if it's roses. I think it might be roses but I love the smell. And that's the final look guys. I'm going to take up my hair and I'm also going to zoom in a bit so you can get a closer look at the eye make up. I hope you guys enjoyed this look and if you have any comments or questions, please leave them in the comment section below and I hope to see you guys next time. See you later.
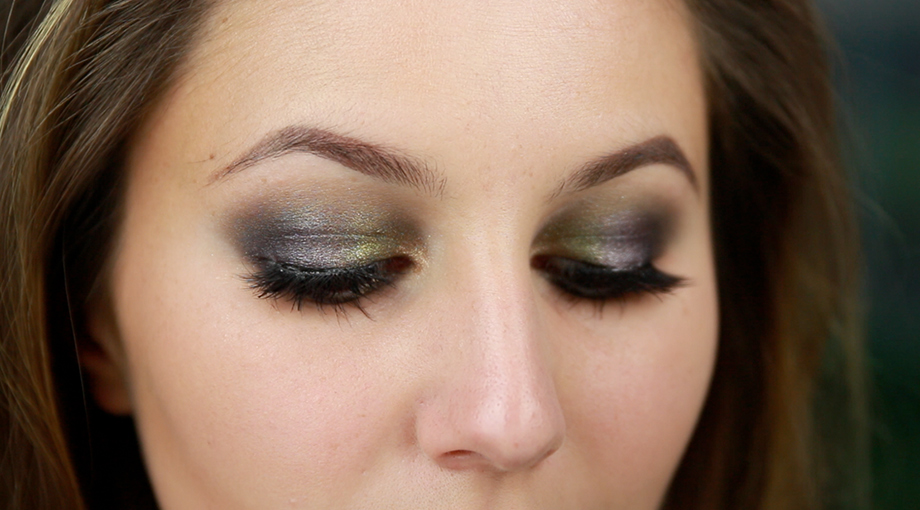
The look is a metallic smokey eye that has a grunge-esque feel. I used the YSL Pure Chromatics Wet and Dry #6 palette (click here for swatches and review). Given that it is my first youtube makeup tutorial, there were a few bumps along the way (namely, a sudden change in lighting) but bear with me! Hopefully I’ll get better at this 🙂
I’d love to hear your thoughts (and tutorial requests) so leave a comment under this blog post or in the youtube comment section.
Complete product list:
SUQQU Brow Pen in Brown
Giorgio Armani Lasting Silk Foundation (shade 4 and 5.5)
Too Faced Shadow Insurance
Chanel Illusion d’Ombre Mirifique
Yves Saint Laurent Pure Chromatics #6
Physicians Formula Eye Booster Pen Black
Rouge Bunny Rouge Eye Kohl Salome
Lancome Hypnose Mascara
Shu Uemura Smoky Layers false lashes
Armani Precision Retouch Concealer in shade 3
Laura Mercier Secret Brightening Powder
Kevyn Aucoin Sculpting Powder in Medium
Yves Saint Laurent Gloss Volupte in shade 6
Much love,
xxkarima


Love this clip. The lighting is so lovely .
Beautiful!
Thank you, Sylvana!
Hi Karima, really liked this! Waiting for the next one 😉
Hi Annick!
It’s in the making 😉
xxkarima
gorgeous look Karima! I’m definitely subscribing
ahh still deciding if I should purchase mirifique or not,,
Hey Olivia!
Glad you liked it 🙂 Mirifique is a great multipurpose product, it also makes for a great liner. I recommend it!
xxkarima
You are one classy lady, Karima! I wish I had your skills! The video is very good quality and you are very pleasant to watch.
Thank you, Agnes! I’m very flattered 🙂 I’m a stickler about quality so I’m glad you think so!
xxkarima
I simply love how you create your looks. The filming is wonderful. I love all the care given to detail.
Why, hello Nikole 🙂
I’m glad you like it! Suggestions are welcome *nudge nudge*
xxkarima